Essential Tips for DIY Painters
Wed, Nov 15, 2023
Read in 5 minutes
If you’ve ever stood in front of a blank wall, paintbrush in hand, wondering where to start, you’re not alone. Embarking on a DIY painting project can be both thrilling and challenging, but fear not – we’ve got your back. Before you grab your paintbrush and start slathering on the color, it’s crucial to prepare your workspace properly. This involves covering your furniture and floors with drop cloths, removing light switch covers and outlet plates, and taping off areas you don’t want painted, such as trim and moldings. Once your workspace is ready, it’s time to tackle the walls. But is it really? Or are there some hidden steps you need to take care of first before you can truely start.
1. Choosing the Right Paint
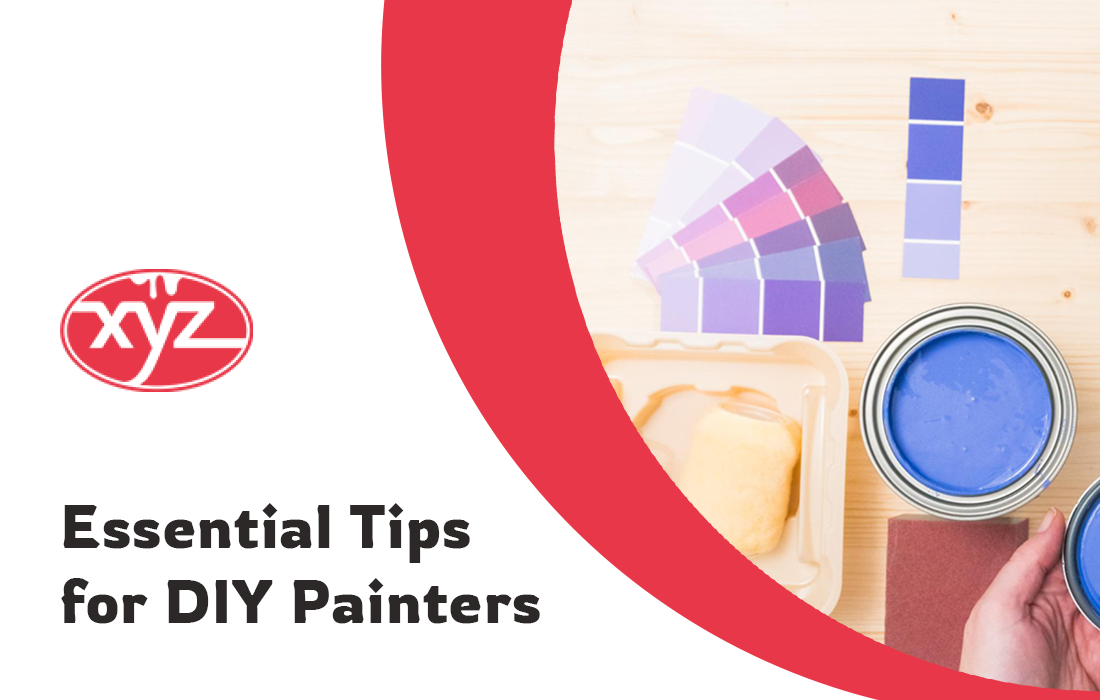
Before you dive into the world of DIY painting, it’s crucial to select the right paint for your project. Consider factors like the type of surface you’re painting, the room’s purpose, and your preferred finish. Opt for high-quality paints that promise durability and a smooth finish, turning your walls into a canvas of perfection.
While choosing the paint, it will not only be about the type of paint you need to think of. Keep in mind the surface you will be painting as well. Is it textured or smooth? Interior or exterior or something different altogether. Invest in high-quality paints. While they might be pricier upfront, they often offer better coverage, durability, and a more attractive finish. This is one of the most common and told about Painting tips for beginners. And rightfully so! Quality paints also tend to have fewer harmful chemicals, making them a healthier choice for indoor spaces.
2. Essential Painting Tools
Arming yourself with the right tools is half the battle won. Gather essentials like quality brushes, rollers, painter’s tape, drop cloths, and stir sticks. This may sound daunting right now, but they will help you in the long run. Invest in good tools upfront, and they’ll become your trusty sidekicks throughout the entire painting journey. You can start with basic things and level up as and when the need arises.
Armed with these essential tools, you’re ready to tackle your DIY painting project like a seasoned pro. Give a proper thought on what you need and what you require. There will be many options available so do not get confused or overwhelmed. Remember, the right tools make all the difference, so invest in quality and take your time to ensure a fantastic finish. These tools will give you an elevated look even if you are still learning things.
3. Surface Preparation Techniques
Preparation is key to achieving a flawless finish. Take the time to clean and prime your surfaces before painting. Smooth out imperfections with sandpaper, and patch up any holes or cracks. Do not rush and start painting just because you are excited. Your attention to detail during preparation will pay off in the final result. This is one DIY painting technique that should be taken very seriously.
Even if you just follow some basic steps you are good to go. But of course if you are feeling extra motivated you can always take a step ahead as well. Like caulking, which means filling the gaps in the walls you might find. This is a Painting tips for beginners that many might overlook, but in doing so you are making a mistake.
4. Proper Painting Techniques
Now, let’s talk about technique. Whether you’re rolling or brushing, mastering the art of strokes is crucial. So listen carefully to painting enthusiasts. Work from top to bottom, and use long, even strokes to avoid visible seams. Experiment with different techniques to find what works best for you, and remember – practice makes perfect! But do not worry even if you mess it up a few times. You can cover up your mistake (pun intended) and start over if required. DIY painting techniques are easy to follow if done correctly and you can be done with the work far quickly.
When using a roller, employ the “W” technique. Start by rolling a large “W” shape onto the wall, then fill in the gaps. This method helps distribute the paint evenly and avoids streaks. Excess paint leads to drips and uneven coverage. Load your brush or roller with a moderate amount of paint, and you can always add more if needed.
5. Safety Tips for DIY Painting
Safety first, painters! Ventilate your workspace, wear protective gear, and keep a first aid kit handy. If you’re using a ladder, ensure it’s stable, and never overreach. Even if you think you are a pro, safety is still important. Taking precautions might seem basic, but it’s the foundation for a successful and injury-free painting experience.
Whether you’re a seasoned painter or a first-time DIYer, following safety guidelines ensures a successful and incident-free experience. By incorporating these safety tips into your DIY painting routine, you can create a secure and enjoyable environment for your project. These tips might be bothersome for some but essential and necessary nonetheless.
6. Finishing Touches and Cleanup
Congratulations, you’ve reached the final strokes! But you are done just quite yet. Pay attention to finishing touches, like carefully removing painter’s tape and inspecting for touch-ups. Take a critical eye to your work. Look for any missed spots, uneven coverage, or spots that need a second coat. Touch up as needed before the paint fully dries. When the masterpiece is complete, clean your tools promptly to ensure they’re ready for your next burst of creative inspiration.
After all of that is done. Step back and admire your work. You’ve not only transformed your space but also gained valuable experience. Celebrate your DIY victory!
Conclusion
In conclusion, DIY painting is a journey of self-expression and creativity. Armed with these essential tips, you’re well-equipped to turn your space into a personalized masterpiece. So, grab your brushes, put on your favorite playlist, and let the colors flow – your canvas awaits! Happy painting!
Get A Free Estimate!
Recent Posts
Drywall Contractors Vancouver
Drywall Service in Richmond
Drywall Contractors Surrey
Why Build Your Home Partition with Drywall?
Make Your Home Walls Beautiful and Safe with Drywalls